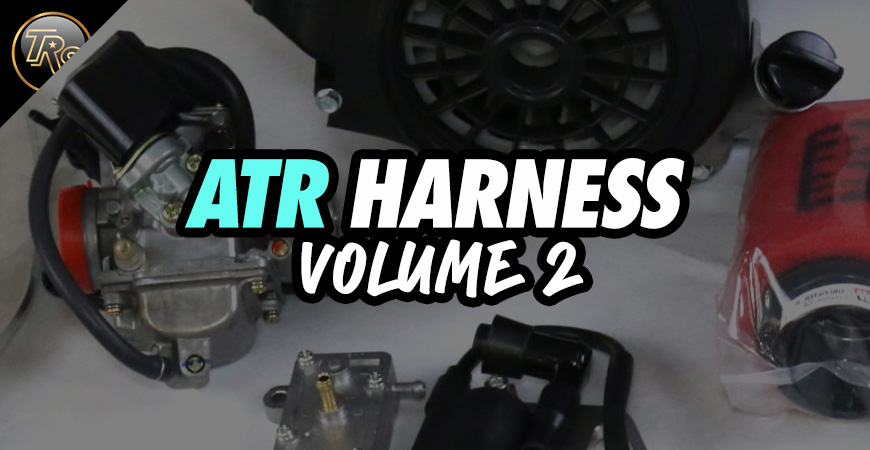
ATR HARNESS PART 2-THE NITTY GRITTY
Welcome back to part 2 of my (burnout bobby) breakdown of the ATR harness.
Many of you think that this harness is our harness, but in fact, it is not. We have just been selling the harness for over 7 years now and have gotten to know it very well. We’ve put all of the labels on it to make it easier for newcomers of the gy6 swapped Honda ruckus community. In today’s post, I will be going over what I personally like to do to the ATR harness to make it my own. There are little tricks and tips I will also give out when installing the ATR harness into your Honda ruckus.
So, from the last post, some of you have emailed us asking how much wire I had to cut out to make the harness look like that in the battery box. My answer is none…. I did not re-pin the CDI, rectifier, or clear relay. This is all based on how you run the wires. You have lots of room behind the factory ECU tray to tuck the harness into. Personally, the hardest part or biggest eyesore to me would be the starter relay as it just sticks out to me. I have an idea on how to possibly hide this better while still allowing access to it if you ever needed to replace it. I will be testing this on my next gy6 build.
Small talk aside, here are some key things I do on my personal harnesses that I have not ever shown in my videos. In the ATR harness, there are various junction points as I call them, where many power wires or ground wires meet. These points in the ATR wire harness are typically crimped together with a brass crimp. This is fine, and I have run harnesses like this for years, but what I like to do is typically solder these points all up to make it very secure and to assure everything has a solid bond. The next thing I do that I have not shown on the video is I remove the two pins from the bottom of the fuse clip upfront and use plyers to crimp the prongs closed just a little bit more. Then I put the prongs back into the fuse clip. This will make sure there is zero wiggle room in the fuse clip with the fuse. Again, I want to state that none of this is needed for your ATR harness to work in your Honda ruckus. These are just the OCD measures that I take when I do my gy6 swaps on a Honda ruckus.
When I come to the back half of the bike, I have shown in my videos I like to trim it all! I will cut down the grounds, starter cable, taillight wiring, remove the auto choke, etc. The key with the back half of the bike is hiding the wires out of plain sight. I do this by following the frame up from the gas tank then go under the gap of the cross brace that the T bracket mounts to and follow that 12-inch stretch bar back. This stretch bar will hide the wire loom perfectly and from that side profile, you will not be able to see the wires at all. I really hope you have enjoyed this portion of my blog with the ATR wire harness and continue to check out the other blogs that you will find on The Ruck Shop.